
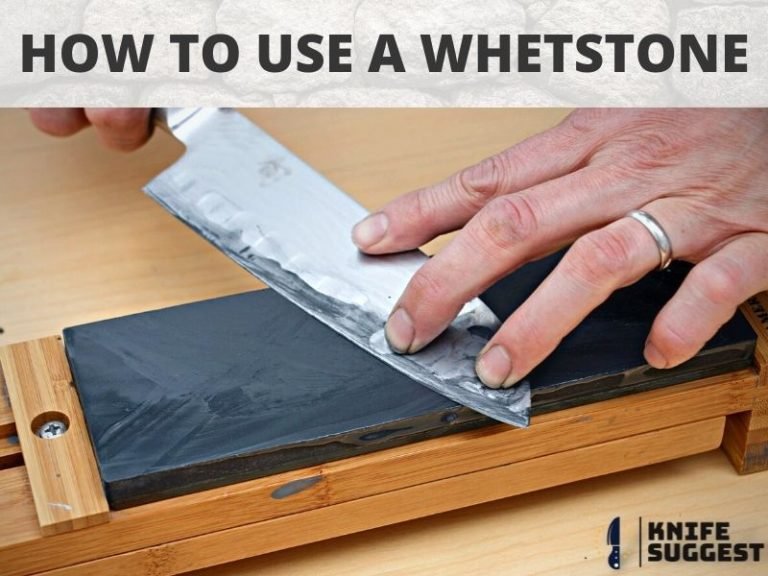
You have picked up a whetstone from the shop, and sharpened the knife with ease. Now, it’s time to chop some fruits, meat, and vegetables for some delicious recipes. But when you go to slice them, it feels like the knife is now worse than ever. It’s a common experience for a beginner, could be yours as well, unless you know how to use a whetstone to properly sharpen your knife.
Whetstone, also known as Sharpening Stone, is used to sharpen the edges of a knife to retain its sharpness. You may hear something like Wetstone, which is Whetstone. And here you go to read a complete guide on Whetstone for everything you need to know. Now sit tight and don’t miss anything.
Basic types of Whetstones:

This Picture Credit: Best Sharpening Stones
A whetstone can be categorized into different types depending on grit grade, usage, manufacturing process, nature of materials, etc. That’s why beginners find it confusing when choosing the right whetstone. Now to keep it simple, let’s just say three basic types of Whetstones are available in the market :
- Oil stone
- Water stone
- Diamond stone
Oil Stone
Oil stone is the most used & traditional form of Whetstone. The reason behind naming such is Oil works as its lubricant. Oil stone may come from a natural source like crypto-crystalline quartz (Arkansas Stone) or synthetic materials such as Aluminum Oxide stone (Al2O3) or Carborundum Stone (SiC). Carborundum stones are less effective on modern-day steel. Because the matrix of this stone is so soft that the crystal breaks and rolls ahead of the edge while you’re sharpening it.
Oil stones are cheaper than any other whetstone. You can find honing oils from the store to lubricate oil stones. Alternatively, you can use any sort of mineral or vegetable oil on an oil stone. An interesting fact is, Kerosene comes up with better results than even honing oils. But do not use WD-40 lubricant.
Water Stone
Water stone is comparatively new and gaining attention from oil stone users. Because water is readily available. But, oil stone may need specific oils that you will not find just anywhere. Like Oil stone, Water stone come of Aluminum Oxide or Arkansas Stones as well. Depending on the ingredients, the price range can be cheaper to super high.
Water stone is softer than Oil stone and got more pores in structure. You need to soak the cheaper water stones into the water for 30 minutes or above. When the water fills out every pore, bubbles will stop coming out from the water. Then you can start to use the stone.
As Water Stone has more holes, it sharpens faster and also wears down superfast.
As the Oil and Water stones come from the same materials, many of the stones are suitable for both water & oil. Aluminum Oxide not made by Norton can be used as a water or oil stone. But the trademarked India stone is pre-soaked in oil, so water will never work. You can use water on these whetstones. But once you use oil, you cannot use water because water will not have the proper effect.
Diamond Stone
A thin upper layer of mono or Poly-crystalline diamond makes a Diamond stone. Mono-crystalline one lasts longer. The diamond layer can be up to 120 μm wide. Diamond stones are costly but the most efficient stone. You will need fewer strokes to remove metals from the even edge of very hard metal. And you can use water for its lubrication, which is quite a helpful feature of this stone.
Diamond stones are available in 2 different types. One has a continuous surface, and another has to interrupt holes within the surface. Both are good in their own ways.
You can find its wide range variation starting from 120-8000 grit.
Choose the Right Whetstone:
For most beginners, identifying the right whetstone becomes a confusing task. They often misunderstand the grit grade numbers of whetstones, thinking the higher the grit number, the better quality. But grit numbers do not work that way.

Choosing a whetstone depends on how experienced you are with a whetstone or what you are using that knife for. You can simply use a 1000 gritstone if you do not have any previous experience. And use a 5000 grit stone to polish the edge of the knife and make it a super sharp knife. You should buy an Aluminum Oxide stone if you want for daily life use. Because they are compatible with both water or oil. Arkansas stones give the same feature but are very costly. If you want to shapen an expensive and tough knife with ease, then go for diamond stones.
Use a Whetstone Properly and how you’ll do it
Sharpening a knife using a whetstone is not easy work. It needs practice to get things right. But if you follow the step below, you will do better than most other beginners. The First 5 steps will be the preparatory steps which are very important.
Step 1: Place your whetstone
You must place your whetstone where it will not move while abrading. In that case, buying a sink bridge is an ideal option.
The sink bridge holds a whetstone and sits steadily over the sink. You can loosen the two wing nuts at the bottom and expand them to fit the sink, then tighten the wing nuts. The rubber at the feet of the Sink bridge so that you can use it right on the countertop. So it is used almost everywhere.
As an alternative to that, something like a rug, carpet, rubber mat with a rough surface can serve well.
Step 2: Lubricate the whetstone

Lubricate your whetstone before you start using it. Pour or soak the stone into oil or water, whatever the whetstone requires. Never lubricate more or less than necessary, because that’ will rather obstruct the abrasion.
Step 3: Grab the knife perfectly

Always try to grab the knife with your strong hand. If the right hand is your stronger hand, then you are right-handed. So, use your right hand to grab the knife. Put the thumb & index finger on the blade face of your knife. The rest of the fingers of the right will warp the knife. Index, Middle, Ring, and the little fingers of the Left hand will hold the knife onto the whetstone. You may discover your own way of holding knife once you master the sharpening. But for beginners, this is the best way.
Step 4: Measure the pressure

Before starting to sharpen the knife, measure the pressure you are going to apply while abrading. Using the right amount of pressure on the knife. If you push down too much, then it will be hard to maintain the right angle. Alternatively, if you don’t apply much pressure, then whetstone can barely remove any material from the edge and worsen off the edge instead.
Master bladesmith Bob Kramer suggests 4-6 pounds of pressure for a normal sharp knife, and up to 8 pounds of pressure if the edge is too dull. How do you actually check?
You’ll need a baking scale. Grab the knife Put the knife on the scale and press down. Don’t put the hand that is grabbing the knife over the scale, that’ll create a miscalculation. Now memorize what 4-6 pounds (or 8 pounds if necessary) of pressure feels like. Then immediately transfer that pressure to the stone while sharpening to help build that muscle memory onto the next one.
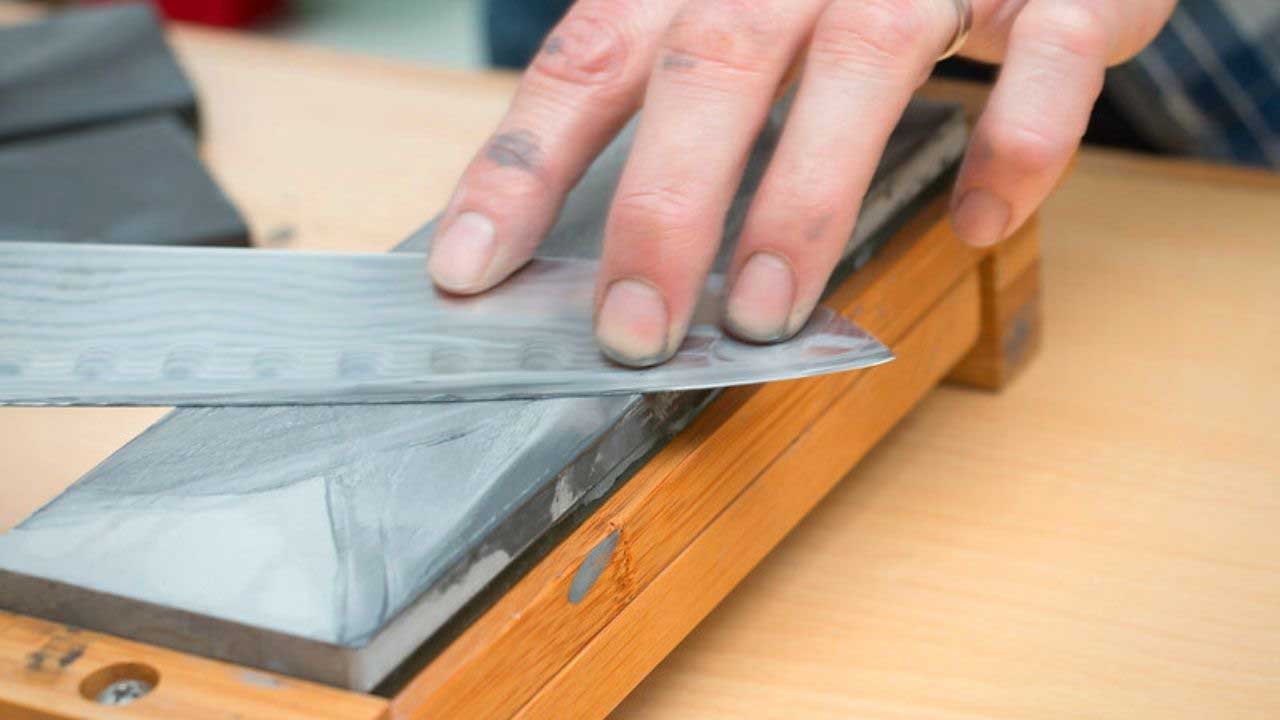
Step 5: Sharpen with the Whetstone
After you have completed all the preparations, it’s finally time to start sharpening:
- The dull knife edge is roundish. If you touch the edge on your thumb pad, it will feel up and down. Your goal is to sharpen them until you see both sides of the edge are plain, intersecting the middle, and feel no burr. So you have to remove a fair amount of metal particles there.
- Slide the knife straight back and forth. Or make sweeping action in a half-ellipse. Experienced bladesmiths prefer sweeping.
- Use the full length of your stone to abrade the knife.
- Slide from the bolster all the way to the tip of your knife.
- Apply even pressure all over the knife. Spread the 4 fingers and use the same pressure as the knife holder hand.
- Let’s assume the side of the knife you are abrading first is Side A, and the opposite side is Side B. After 10-15 strokes, you can feel with your thumb that your Side A seems smooth. But when you touch Side B, you will find Burr there.
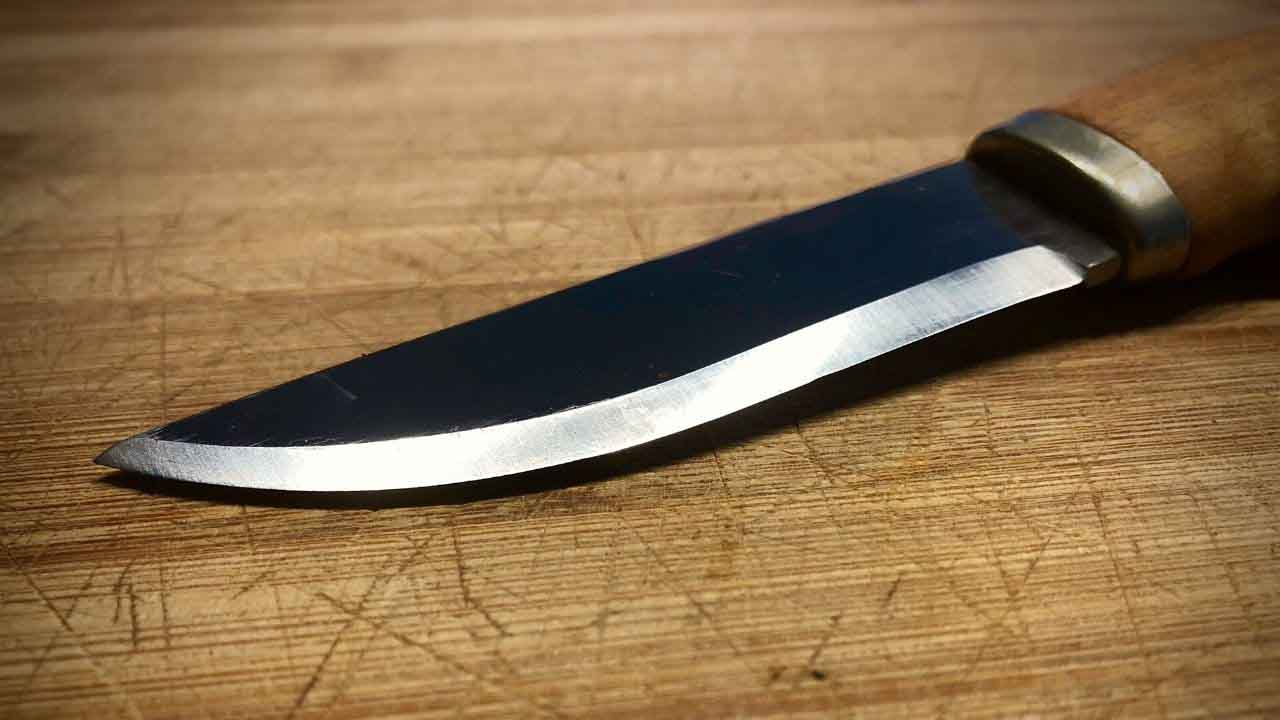
- Now you will start sharpening Side B as well. Until the burr aligns in the center, keep sharpening each side, couple more times, with uniform angle & pressure. When the burr comes to the center, move onto the finishing stone and sweep a couple more times. When you feel your knife is well-sharpened now, try cutting a piece of paper. Cutting through a paper smoothly confirms that you have done successful work.
- If you do not have the finishing stone, do not worry then. You just have to sweep or slide back & forth until the burr is completely removed. Normally, the burr is present on both A & B sides. Abrasion on side A sends all the Burr heads to Side B, and vice versa. You can imagine what happens when you take a paper clip and bend it back & forth. Eventually, it weakens and breaks off. Continuous abrasion on both sides weakens and breaks off the burr in the same way.
Step 6: Measure the Angle
Measuring the angle is one of the most important tasks. Typical Asian knives require a 15° angle, whereas German & other Western knives require 20-22° with the whetstone surface while sharpening. And measuring the angle is possible in more than one way:
- You can use a matchbook. Put the matchbook under the knife, and that is about 12-15 degrees.
- Put two pennies or coins under the knife, that give you 15°-20°.
- Intersect your knife at 90° angle to the whetstone. Half that angle, and you will get 45°, and the further half will give you 22.5, which is close to 15° or 20°. So lowering just a bit more will give your preferred angle.
- The most efficient way is marking the edge with a sharpie marker. Tilt your knife under the light, and you should notice the edge glint differently on your knife. Fill that edge in and slightly above it with the sharpie marker. When you will sharpen, you will see where the marker is wiped away by the sharpening stone. And that is where you are going to be removing the metal. With this incredible, handy chart from Japanese knife imports, you can make adjustments based on the feedback.
After determining the angle you will need to hold your knife on the whetstone, just do not start sharpening yet. You will need to know how much pressure you are going to put there.
Dos and Don’ts of using a whetstone:
- You may find the details on the angle required to sharpen your knife on the manufacturer’s website. So check for it before starting to sharpen. It’s not like using angles other than what the manufacturer stated will ruin your knife, but your knife will take longer to sharpen.
- Keep your focus to maintain the consistency of the knife’s pressure and angle with the whetstone surface. The more accuracy you can manage, the better result you get.
- Try keeping consistency on your knife sweeping pace.
- Remove the grease every time you rotate the knife to sharpen.
- Metal particles removed from the knife often stack up on the whetstone surface and reduce the efficiency of the stone. In that case, pour some water or oil, whatever you are using as the lubricant. Then clean those obstructing metal dust with a cleaner stone. You can use a dishrag or an old T-Shirt as an alternative.
- Keep your whetstone clean. In the case of oil stone, you leave the stone uncleaned, the metal dust helps the oil to harden over the surface of the stone which ruins the stone
- Don’t leave your stone exposed to the air.
FAQ
What is the Grit of a Whetstone?
Ans: The grit of a Whetstone determines the Coarseness of a Whetstone. The lower the grit grade number gets, the coarser the whetstone is. Whetstone can be categorized into 3 different types :
- Coarse stone. Grit ranges up to 1000.
- Medium stone. Grit ranges from 1000-3000
- Finishing stone. Grit ranges from 4000-8000
What is Burr?
Ans: The burr is a raised lip of metal that forms when one side of the knife’s edge meets the others while sharpening. You likely won’t be able to see a burr, but you can feel it with the pad of the thumb, or feel it catch your thumbnail.
Where do the best whetstones come from?
Ans: Japan is widely admired for manufacturing the best quality of whetstones.
Which one is better, between Electric Sharpener and Whetstone?
Ans: Electric Sharpener, sharp faster, and easier to handle. But It needs electricity to run the machine, so you can not use it everywhere, especially in the kitchen because your soaked hand may electrocute you. Whetstone also lasts longer. So when it comes to long-term use, whetstone is the boss. And for short-term uses, an electronic sharpener is slightly better.
Can I use any kind of Lubricant on my stone?
Ans: Except for WD-40 oil, you can use every kind of oil.
Can I use water on my oil stone?
Ans: In most of the oil stones (except India stone and Carborundum stone) you can use water and oil, both, but not simultaneously. Once you use oil, you can not use water and vice versa.
What is the difference between honing stone and sharpening stone?
Ans: Sharpening Stones removes a metal layer to sharpen a dull knife. Honing stones doesn’t sharpen a dull stone, rather they increase the sharpness of a sharp object without removing material. So honing stone is used for finishing purposes. Honing stone is more like the 5000 or higher grit finishing stone.